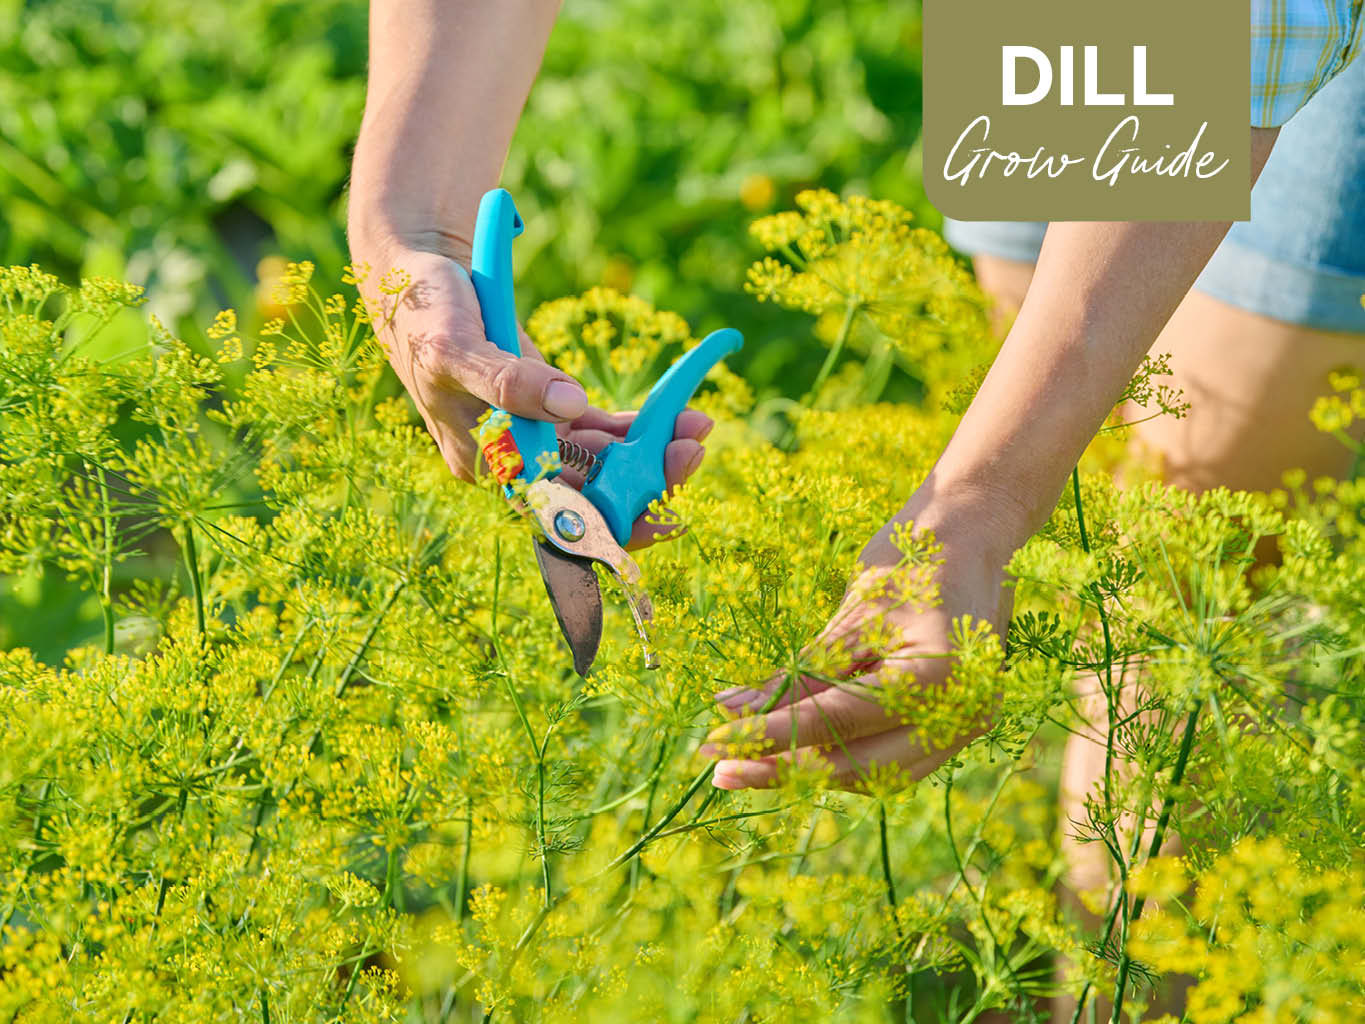

Chives plants hold a special place in my heart as a true gem in the herb garden. Their effortless growth and versatile uses in the culinary realm make them an absolute must-have for herb enthusiasts and food lovers. Whether an experienced gardener or someone new to gardenings, chives are an excellent choice.
In this grow guide, learn the basics for successfully growing chives beginning from the germination of seeds and extending all the way to the stages of harvesting and preserving your bountiful yield.
Chive Varieties
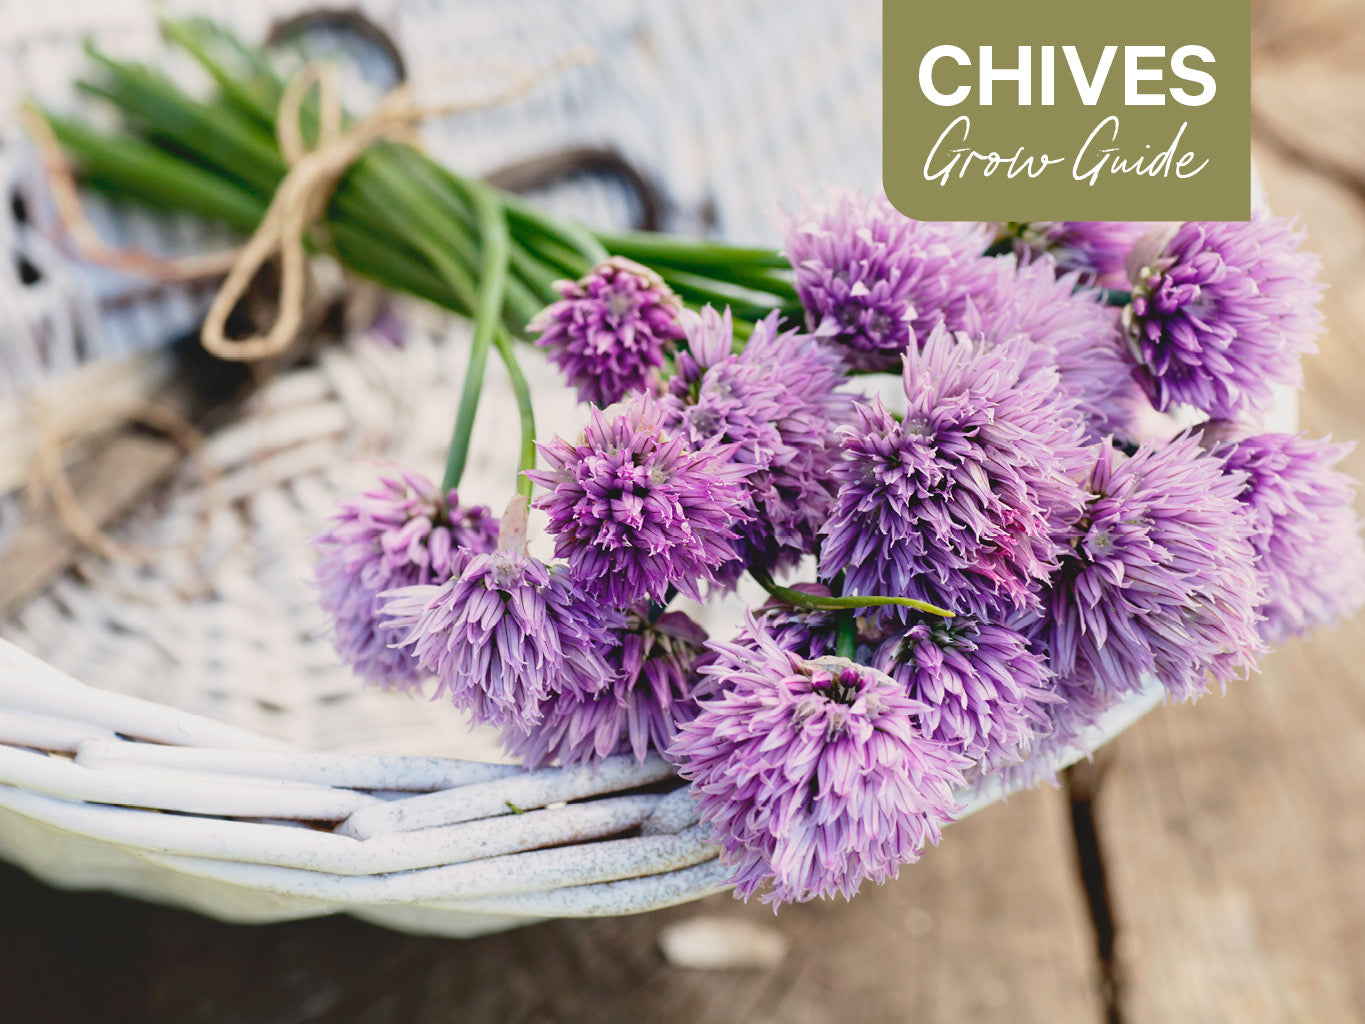
Chives are an amazing perennial herb that grace our gardens with thin, grass-like leaves with purple or white blossoms that are made up of tight clusters of individual florets well known for attracting an array of helpful pollinators. Below is information about two of the most common varieties of chives to grow:
Common Chives (Allium schoenoprasum)

Common chives are typically 10 to 15 inches in height. This chive has thin, round, grasslike leaves and striking purple flowers that add a touch of charm to any garden and attract beneficial pollinators like bees and butterflies.
Flavorful Profile: Common chives offer a delicate onion-like flavor, which is milder than their bulbous relatives. Their subtle flavor makes them a versatile addition to a wide range of culinary recipes.
Uses in the Kitchen: Sprinkling freshly chopped common chives over salads, omelets, soups, and cream-based sauces is a common kitchen practice. These help infuse a delightful onion essence into your dishes.
Garlic Chives (Allium tuberosum)

Garlic chives are often grown as an ornamental plant in home gardens. With their flat, sturdy leaves and clusters of delicate white flowers, they exhibit exceptional beauty. Besides decorative uses, the herb is used as a traditional medicine and culinary herb.
Flavorful Profile:As the name suggests, garlic chives impart a garlic flavor to your culinary creations. This adds a unique twist to dishes, perfectly balancing mild onion and garlicky goodness.
Uses in the Kitchen: You can enhance Asian-inspired dishes, stir-fries, and dumplings with the delightful essence of garlic chives. Additionally, their mild garlic flavor pairs excellently with seafood, noodles, and savory pancakes.
Sowing Chives Outdoors or Indoors
Timing is everything when it comes to sowing chives for a successful growing experience. Depending on your gardening preferences and climate, you can sow chive seeds directly outdoors or start them indoors for an early head start. Let's explore the ideal planting time for chives and discover which method suits your garden best.

Outdoors
The best time to sow chive seeds outdoors is about 3 to 5 weeks before your region's last spring frost date. Chives thrive in the cold, making early spring the perfect window for outdoor sowing.
Prepare the Garden Bed: Choose a sunny spot in your garden with well-draining soil. Chives are sun-loving plants and grow happily if given 4 to 6 hours of sunlight daily. Clear the beds of any debris and work the top layer of soil to create a loose, fine bed for your chive seeds.
Planting Depth and Spacing: Sow the chive seeds at a depth of approximately 1/8 inch in the soil. Aim to space groups of 3 seeds 8 inches apart in rows, allowing them ample room to flourish.
Water and Patience:After sowing, gently water the seeds to provide the moisture they need to germinate. Keep soil moist during germination. Once the herbs mature, they become drought-tolerant and require relatively less water.
Indoors
For an early start on the growing season, you can begin sowing chive seeds indoors approximately 7 to 10 weeks before the last expected spring frost. This method allows you to get a head start on nurturing young seedlings.
Choose Containers:We recommend using biodegradable pots or soil blockers to sow your chive seeds to minimize root disturbance during transplanting, as these herbs are shallow-rooted. Such practice ensures smoother growth when it's time to move them outdoors.
Ideal Growing Medium: It is best to go for a well-draining organic potting mix. It is enriched with organic matter and promotes healthy root development.
Planting Depth and Moisture: Plant the chive seeds at a depth of 1/8 inch in the growing medium. Keep the soil consistently moist but not waterlogged to support germination.
Light and Warmth: Adequate sunlight is essential for faster seedling growth. Place the seeded containers in a warm location, preferably near a sun-facing window.
Which Method to Choose?
The decision to sow chives outdoors or start them indoors depends on your climate, growing season, and gardening preferences. Sowing outdoors allows you to align with nature's timeline. On the contrary, starting indoors grants you an early advantage. Typically, chive seeds take around 10 to 15 days to germinate. Having said that, whichever method you select, with proper care and attention, you'll soon have thriving chive plants.
Nurturing Young Chive Seedlings
As delicate young seedlings emerge from the soil, there are a few care points to follow to ensure healthy growth.

Watering Wisdom | A Balancing Act
Young chive seedlings are sensitive to both underwatering and overwatering. Therefore, it is better to strike a delicate balance by keeping the soil consistently moist but not waterlogged.
Temperature and Humidity
Chives thrive in cooler temperatures, making them well-suited for early spring and fall planting. So, it is best to maintain a temperature range of 55°F to 75°F (13°C to 24°C) as it provides the perfect conditions for their growth.
Fertilization Requirement
Fertilization is not really needed in the case of chives. They are light feeders, and excessive fertilization can harm their delicate nature.
- For outdoor chive plants, a light application of a balanced all purpose organic fertilizer once every few weeks during the growing season is sufficient.
- Indoor chive seedlings can benefit from a balanced fertilizer such as our Organic All Purpose Fertilizer, but use half the recommended strength, applied once a month.
Protection from Pests
Keep a watchful eye on your young chive seedlings for any signs of pests. Early detection can prevent potential damage. Chives are relatively resilient to pests, but in their seedling stage they are more vulnerable.
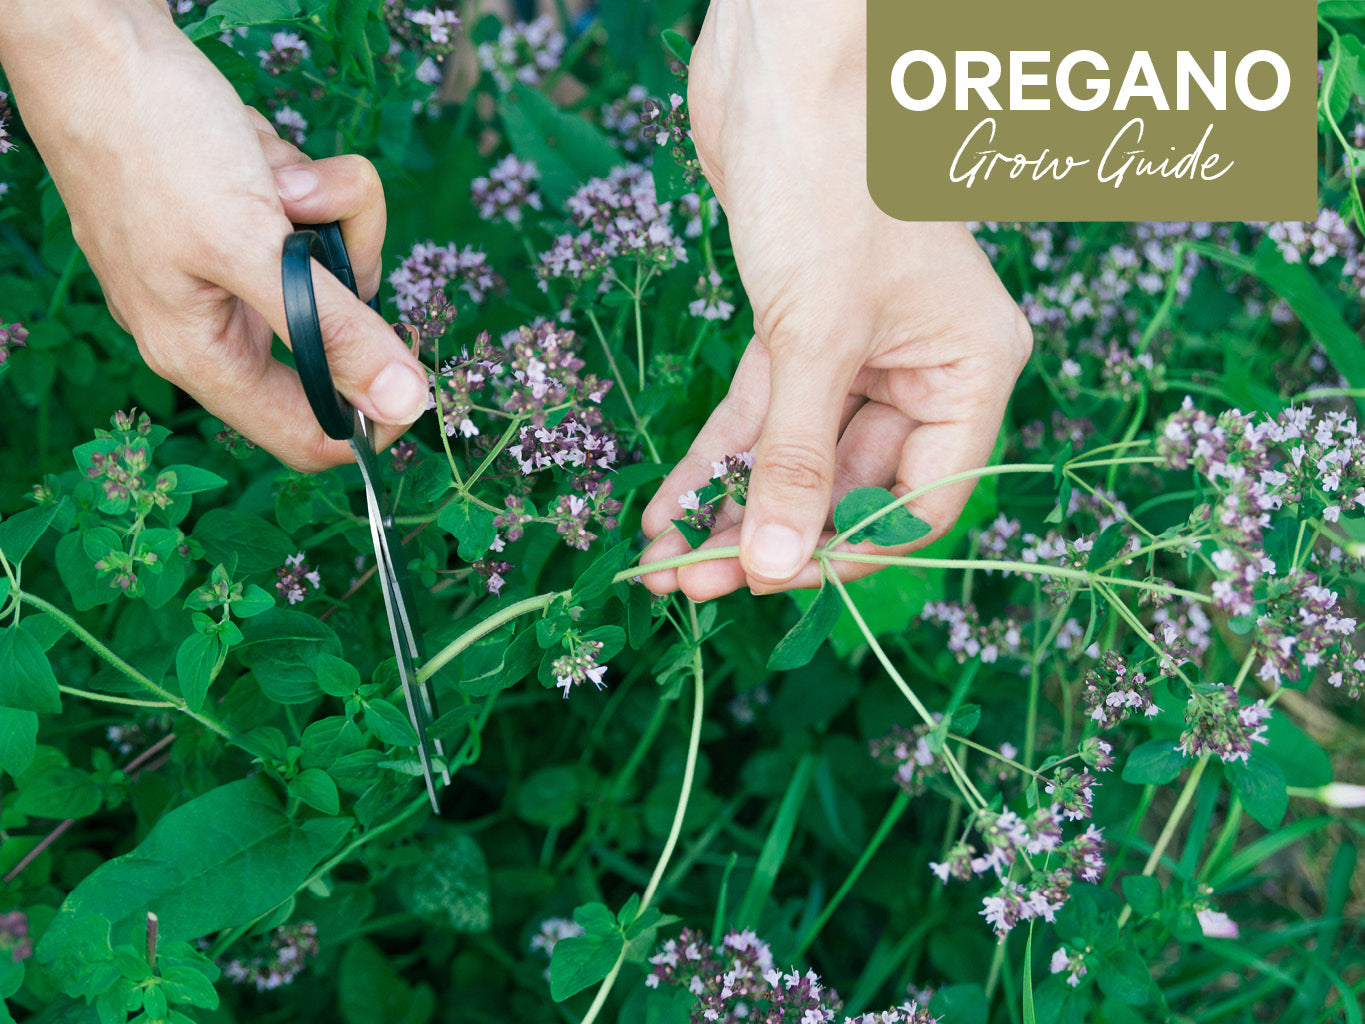
Pruning and Harvesting Chives
Pruning and harvesting are essential practices in the journey of growing chive plants. Knowing when and how to prune and harvest chives ensures the continuous growth of fresh leaves and flowers.
Pruning The Plant:
You can start pruning about two to three weeks after your seedlings have established themselves. Using a pair of clean and sharp gardening shears, gently snip off approximately one-third of the plant. Cut at a 45-degree angle as it facilitates optimal growth.
Important Note: Chives have a natural tendency to self-sow when their flowers are allowed to mature into seeds. To prevent the spread of chives in your garden, simply remove the blooms before they reach the seed-bearing stage (the blooms will fade and dry turning brown at this stage as pictured below).

Harvesting Chives:
Once your chive plants have matured and reached a height of about 6 to 8 inches, they are ready for harvesting. When harvesting leaves, use scissors or sharp gardening shears to snip the leaves close to the base of the plant. Always leave at least 2 inches of growth to ensure the plant can continue producing fresh leaves.
Companion Planting with Chives
Companion planting is vital in promoting plant harmony and balance. Chives make excellent companions for various vegetables and herbs with their natural pest-repelling properties. By strategically planting chives alongside other plants, you can create a symbiotic relationship that benefits your entire garden ecosystem. Let's explore the strategies that enhance chives' growth and protect neighboring plants simultaneously.

Carrots: Chives and carrots form an ideal gardening duo. The pungent scent of chives repels carrot flies, which are known for damaging carrot crops. Interplanting chives among your carrot rows can help safeguard the tender root vegetables from these pesky pests.
Tomatoes: Chives and tomatoes make excellent neighbors. Chives deter aphids, a common tomato pest, while tomatoes provide shade and support for young chive plants. This complementary relationship benefits both plants, leading to healthier growth and improved yields.
Broccoli and Cabbage: Chives protect members of the cabbage family, including broccoli and cabbage, by deterring pests like cabbage worms and aphids. You can safeguard these crops and promote their optimal growth by interplanting chives among your brassicas.
3 Simplest Ways To Preserve Chives
The abundant harvest of fresh chives is a true delight for any gardener and culinary expert. However, as the growing season comes to an end, preserving the delicate flavor of chives becomes necessary. Let's explore the best techniques for storing and preserving the bountiful harvest of chives.
Refrigeration - Preserves Up to Two Weeks
Storing fresh chives in the refrigerator is one of the simplest and most effective ways to preserve their flavor. Here’s the step-by-step procedure for that.
- After harvesting, gently wash the chive leaves under cool water.
- Pat them dry with paper towels.
- Bundle the chives together, and wrap them in a damp paper towel.
- Place them in a plastic bag or airtight container. Chives stored this way can retain their freshness for up to two weeks.
Freezing - Preserves Up to Six Months
Freezing chives is an excellent method to preserve their flavor for an extended period. You can begin by finely chopping the chive leaves and spreading them in a single layer on a sheet. Next, place the sheet in the freezer until the chive pieces are fully frozen. Transfer the frozen chives into an airtight container or freezer-safe bag. Remember to remove as much air as possible before sealing. Frozen chives can maintain their flavor for up to six months.
Drying - Preserves Up to One Year
Drying chives is another effective preservation method that concentrates their flavor. Harvest the chive leaves and rinse them gently under cool water. Once dried, bundle the chives together and tie them with a string or rubber band.
Now, Hang the bundles upside down in a warm, well-ventilated area away from direct sunlight. Once fully dried, crumble the leaves into a jar or an airtight container. Dried chives can retain their flavor for up to a year, making them a pantry staple for culinary creations.

Parting Tip
Don’t forget to let some of your chives flower. Their purple blooms are not just pretty but also a favorite among bees and butterflies.
I hope this guide inspires you to start your own chive adventure. Here’s to the joy of home-grown flavor!"
Happy gardening!