I’m so excited to share this guide with you! Rosemary is one of my absolute favorite herbs. It’s not only a delicious addition to the kitchen, but also an incredibly resilient and rewarding plant to grow. In this guide, I’ll help you start rosemary from seed (yes, it’s possible!), show you how to propagate cuttings like a pro, and give you all the tips you need to keep your rosemary plants thriving year after year. And of course, we’ll also cover the best ways to harvest and preserve your rosemary so you can enjoy it in your cooking, skincare, and even home remedies.
So grab a cup of tea, get cozy, and let’s dig into everything you need to know about growing your own rosemary!
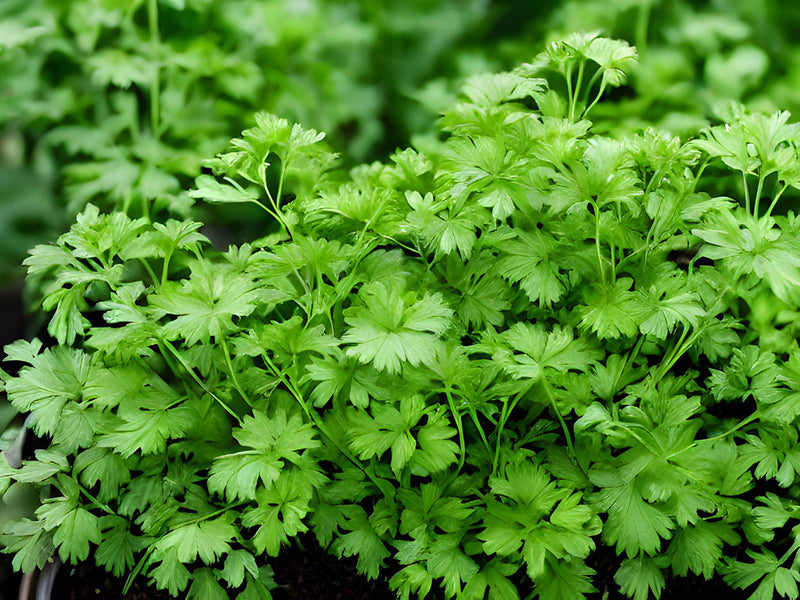
A Little Bit About Rosemary
Rosemary (Salvia rosmarinus) is a hardy, fragrant perennial herb originally native to the Mediterranean. It has a rich history of culinary, medicinal, and cultural significance. The ancient Greeks and Romans associated rosemary with memory, protection, and love, often using it in ceremonies and as a symbol of remembrance. In medieval times, it was commonly found in gardens and used for its medicinal properties, believed to improve digestion, boost circulation, and even ward off illnesses.
Beyond its historic significance, rosemary remains a staple in kitchens and herbal medicine today. Its piney, slightly citrusy aroma enhances a variety of dishes, from roasted meats and vegetables to infused oils and breads. Medicinally, rosemary is packed with antioxidants and anti-inflammatory compounds, making it popular in herbal teas and natural remedies. It’s also widely used in aromatherapy, with its invigorating scent known to reduce stress and enhance focus. In the garden, rosemary is a favorite for attracting pollinators, repelling certain pests, and thriving in a variety of climates with minimal care.
Starting Rosemary from Seed (and Other Propagation Methods)
Rosemary has a reputation for being tricky to grow from seed, but with patience and the right techniques, you can do it successfully. While it takes longer than propagation from cuttings, seed-grown rosemary plants tend to be stronger and more adaptable to your specific growing conditions.
Growing Rosemary from Seed
-
When to Start: Start seeds indoors 10-12 weeks before your last expected frost. Rosemary requires a long growing season, so getting an early start indoors is key.
-
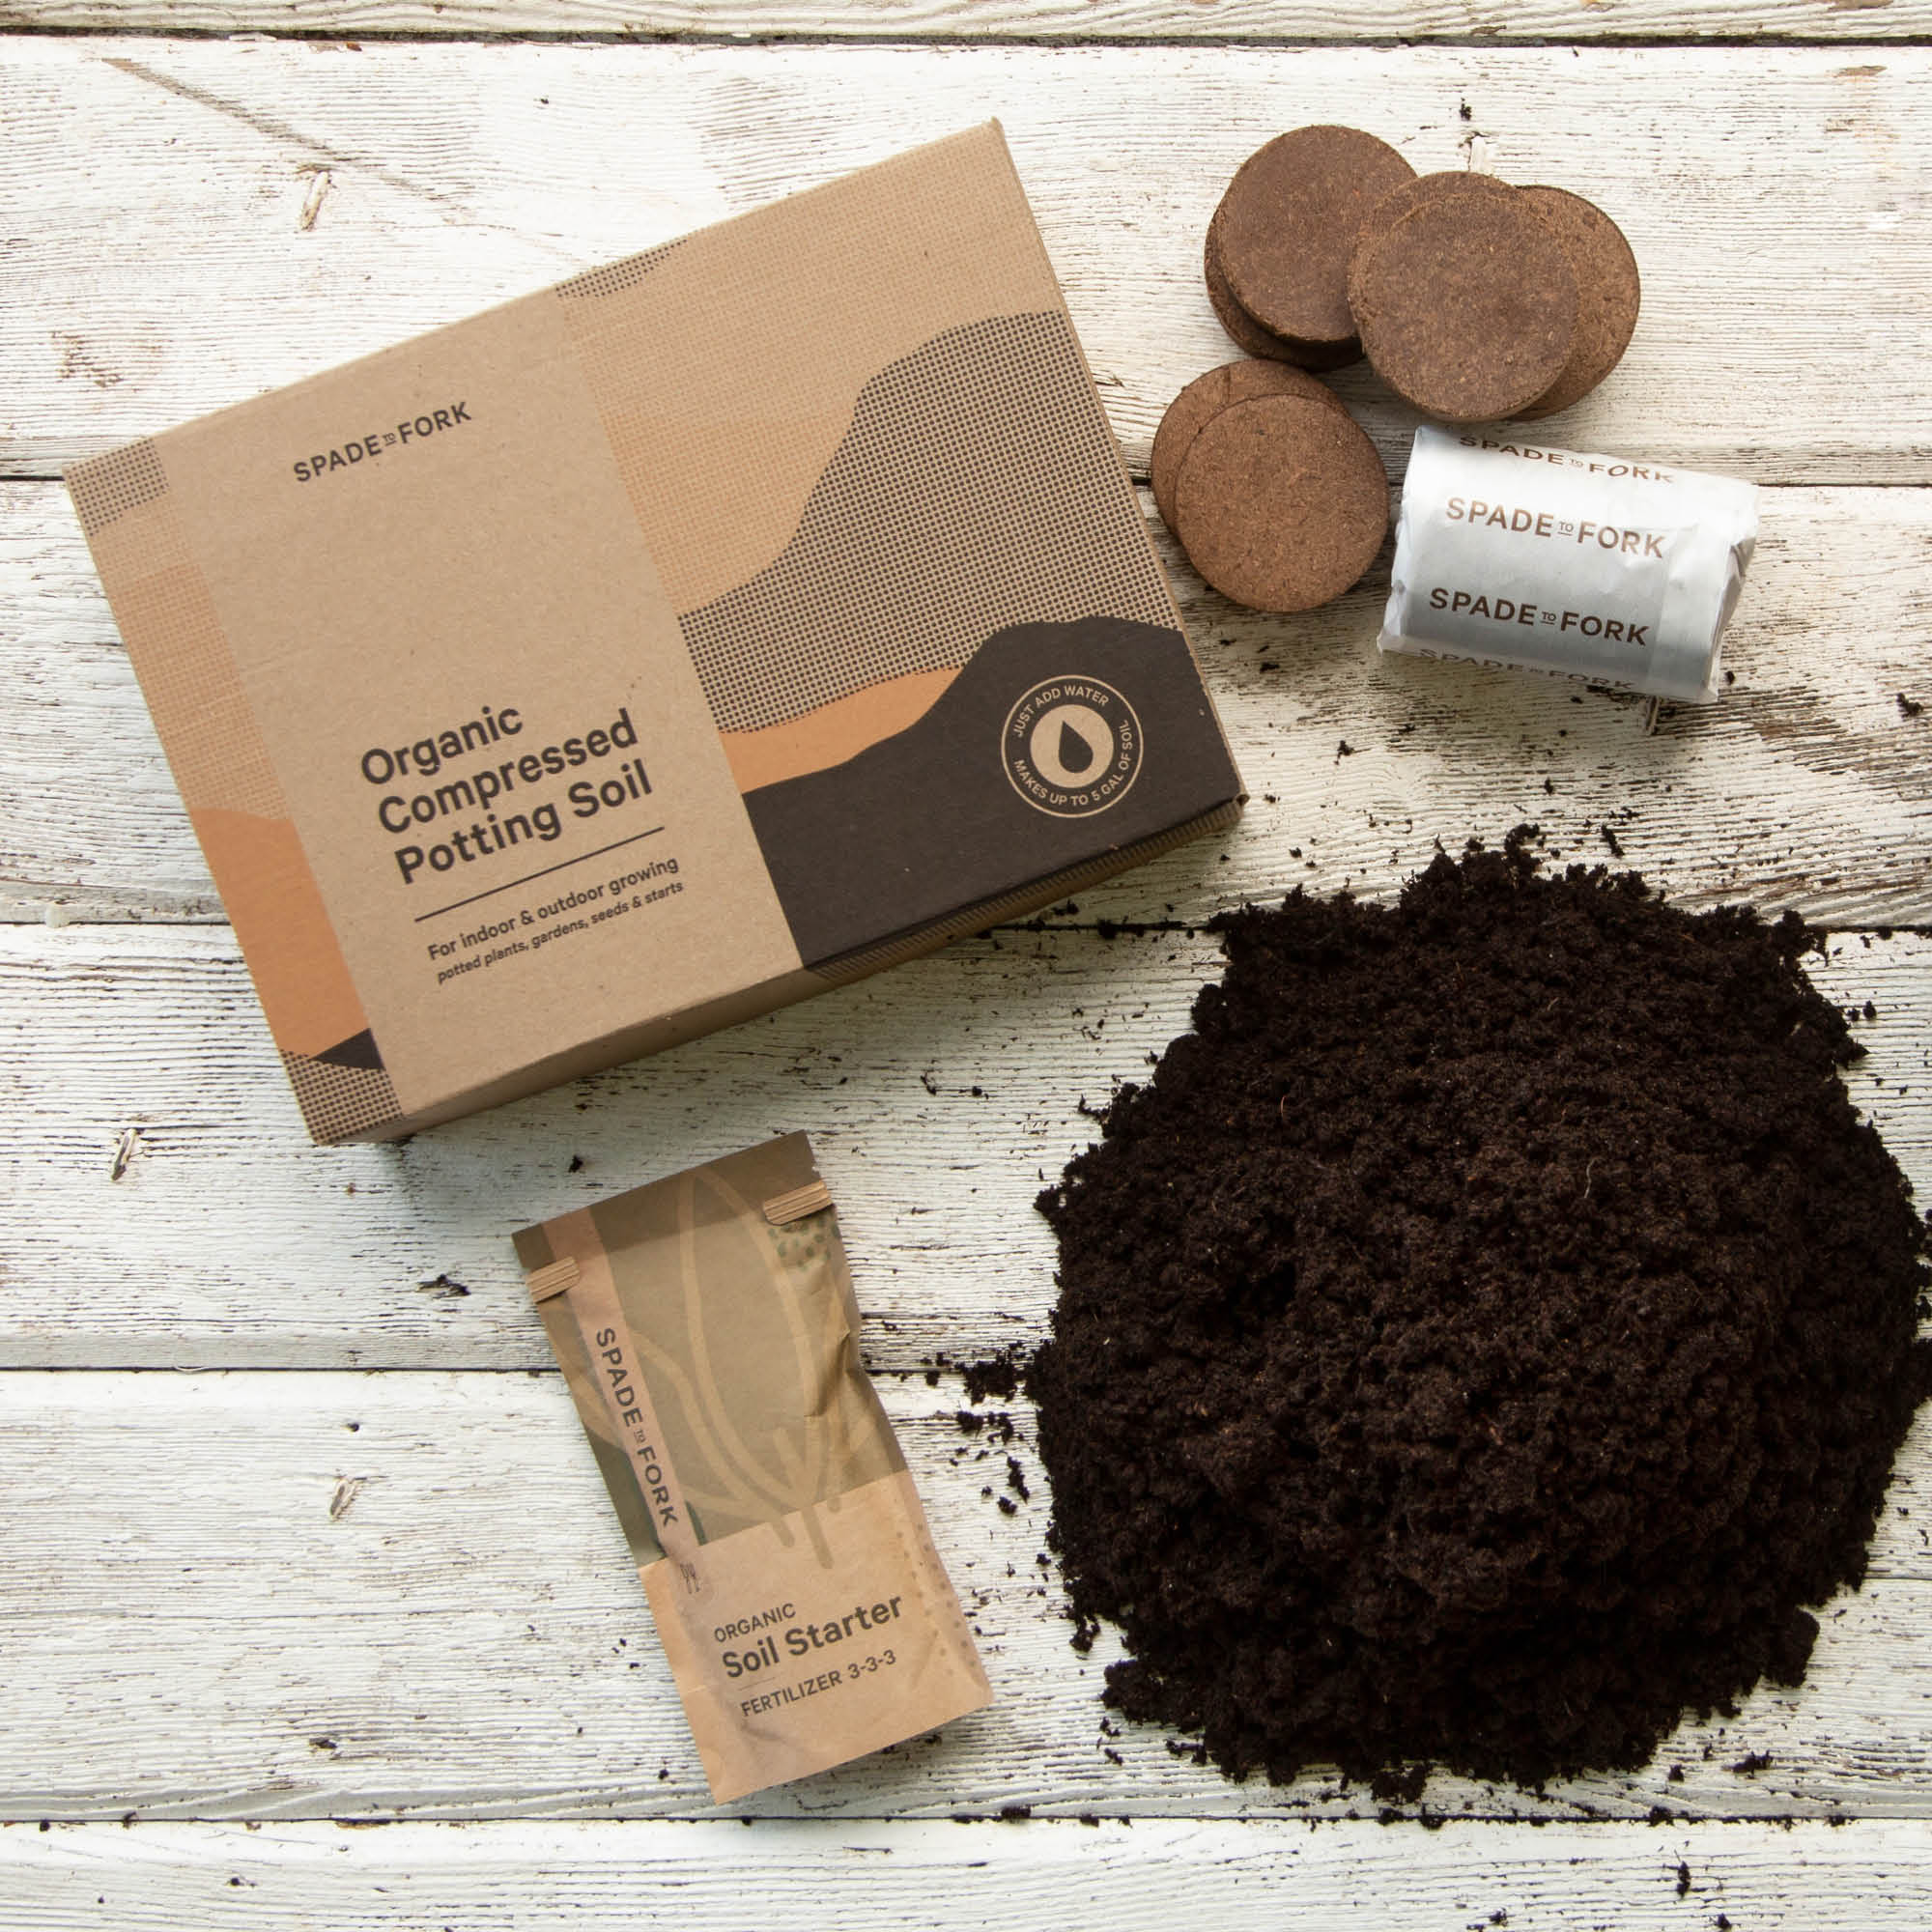
Soil: Use well-draining, sandy or loamy soil. A light, airy seed-starting mix works best.
-
Planting: Sow seeds 1/8 inch deep and lightly cover them with soil. Rosemary seeds need light to germinate, so avoid burying them too deeply.
-
Watering: Keep the soil consistently moist but not soggy.
-
Temperature & Light: Rosemary seeds require warmth to germinate—aim for 70-80°F (21-27°C). A heat mat can help. Provide 12-16 hours of bright light daily using grow lights or 6-8 hours in a sunny windowsill.
-
Troubleshooting Seed Growth:
-
Low Germination Rates: Rosemary seeds have naturally low germination rates. Plant more than you need and thin out the weaker seedlings.
-
Slow Growth: Seedlings grow very slowly at first. Be patient and provide consistent care.
-
Damping Off: Use sterilized soil and avoid overwatering to prevent fungal issues that kill young seedlings.

Propagating Rosemary from Cuttings
Starting rosemary from cuttings is often faster and produces exact clones of the parent plant, so you know exactly what you’re getting.
-
Take a Cutting: Snip a 4-6 inch stem from a healthy, mature rosemary plant. The best time to do this is in spring or early summer.
-
Prepare the Cutting: Strip the bottom 2 inches of leaves from the cutting to expose the stem.
-
Dip in Rooting Hormone: This step is optional but can help encourage faster root growth. Some natural rooting hormones you may have on-hand are aloe vera, coconut water and honey which all contain natural compounds that stimulate root growth.
-
Plant in Soil or Water: Place the cutting in damp potting mix or a jar of water. If rooting in water, change the water every few days to prevent stagnation.
-
Provide Indirect Light & Humidity: Keep the cutting in bright, indirect light. If planting in soil, cover it with a plastic bag to maintain humidity.
-
Root Formation: In 3-6 weeks, roots should start forming. You can test by gently tugging on the cutting—if you feel resistance, roots have formed.
-
Transplanting: Once the cutting has established roots, it can be transplanted into a larger container or garden bed.

Planting Rosemary Outdoors
Once your seedlings or cuttings are established, it’s time to move them outdoors. Proper planting ensures your rosemary thrives for years, producing fragrant, healthy foliage.
Best Time to Plant
-
Spring – The ideal time to plant rosemary outdoors is in the spring after the last frost has passed. Rosemary loves warmth and will establish best when planted during mild temperatures.
-
Fall (Mild Climates) – In areas with mild winters, you can plant rosemary in the fall, giving roots time to establish before summer heat arrives.
Choosing the Right Location
-
Sunlight: Rosemary thrives in full sun, requiring at least 6-8 hours of direct sunlight daily. Choose a bright, sunny location to ensure optimal growth.
-
Wind Protection: If you live in a windy area, plant rosemary near a wall or structure that provides some shelter while still allowing good airflow.
Soil Preparation
-
Well-Draining Soil: Rosemary hates wet feet! It prefers sandy, loamy, or well-draining soil. If you have heavy clay soil, amend it with sand, compost, or perlite to improve drainage.
-
Raised Beds & Containers: If your native soil doesn’t drain well, consider planting rosemary in a raised bed or container to prevent root rot.
Spacing & Planting Depth
-
Spacing: Plant rosemary 12-24 inches apart to allow good airflow and prevent fungal diseases.
-
Planting Depth: Dig a hole slightly larger than the root ball, place the plant inside, and backfill with soil. Gently firm the soil around the plant and water lightly.
-
Mulching: A light layer of mulch, such as pea gravel or bark chips, can help retain soil warmth and suppress weeds without trapping excess moisture.
Watering After Planting
-
Initial Watering: Water thoroughly after planting to help roots establish.
-
Ongoing Watering: Rosemary is drought-tolerant once established, but water deeply once a week during dry spells. Avoid overwatering, as soggy soil can lead to root rot.

Caring for Your Rosemary Plant
Once your rosemary plant is established, proper care is key to keeping it healthy and thriving for years to come. Fortunately, rosemary is relatively low-maintenance, but a few essential care practices will ensure it grows strong and productive.
Watering
-
Drought-Tolerant, But Needs Some Moisture: Rosemary is naturally drought-tolerant once mature, but young plants need consistent watering to establish strong roots.
-
When to Water: Allow the top inch of soil to dry out between waterings. Stick your finger into the soil—if it feels dry at least an inch down, it’s time to water.
-
How to Water: Water at the base of the plant rather than overhead to prevent fungal issues. If growing in containers, ensure pots have drainage holes to avoid root rot.
-
Signs of Overwatering: Yellowing leaves, drooping, and a moldy or musty smell from the soil are signs of too much moisture.
-
Signs of Underwatering: If the leaves appear dry, brittle, or start to curl, your rosemary may need more frequent watering.
Sunlight Requirements
-
Rosemary thrives in full sun, requiring at least 6-8 hours of direct sunlight per day.
-
If you’re growing indoors, place your rosemary near a south-facing window or supplement with grow lights for 12-16 hours daily.
-
If rosemary receives too little light, it may grow leggy and weak, so ensure it gets plenty of sun exposure.
Fertilizing
-
Rosemary does not need much fertilizer, but a light feeding in early spring can encourage healthy growth.
-
Use an organic, balanced fertilizer every 4-6 weeks during the growing season.
-
Avoid over-fertilizing, as too much nitrogen can lead to excessive leaf growth at the expense of flavor and aroma.

Pruning & Maintenance
-
Why Prune? Pruning helps maintain a compact shape, encourages bushier growth, and prevents rosemary from becoming too woody.
-
When to Prune? Trim rosemary in early spring or after flowering to promote new growth.
-
How to Prune?
-
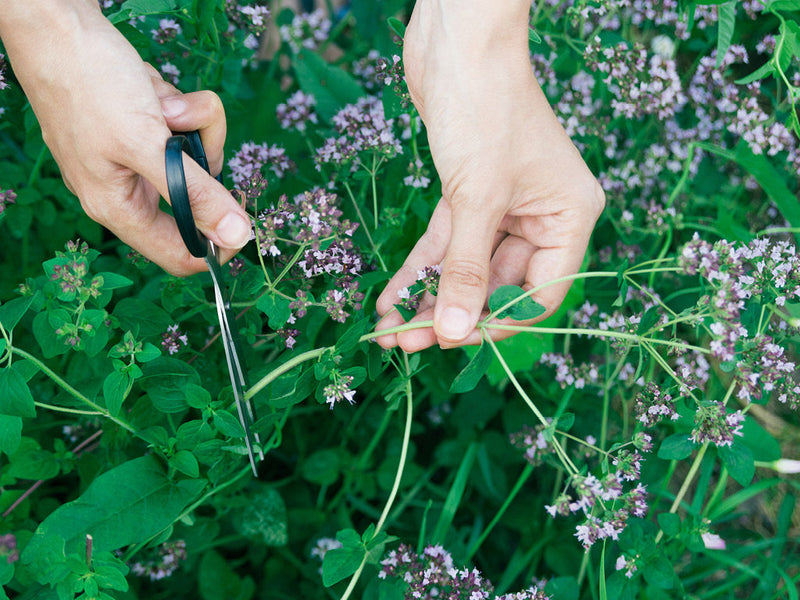
Use sharp, clean scissors or pruning shears.
-
Cut just above a set of leaves, removing no more than ⅓ of the plant at a time.
-
Remove any dead, damaged, or woody stems to keep the plant healthy.
-
If rosemary becomes too leggy, trim the stems back slightly to encourage lateral growth and fullness.
Managing Temperature & Winter Care
-
Hardy to Zones 7-10: Rosemary can survive mild winters outdoors but struggles in prolonged freezing conditions.
-
If you live in a cold climate (below Zone 7), consider bringing rosemary indoors for winter or growing it in a container so it can be moved inside when temperatures drop.
-
If keeping outdoors in winter:
-
Mulch around the base to insulate roots.
-
Protect from harsh winds with burlap or row covers.
-
Reduce watering significantly to prevent root rot.
Container Care
-
If growing in pots, ensure the container is at least 12 inches wide and deep to accommodate the root system.
-
Use a well-draining potting mix with added sand or perlite.
-
Rosemary in containers dries out faster than in the ground, so check soil moisture levels frequently and water as needed.

Common Challenges & Solutions
Even though rosemary is relatively low-maintenance, there are a few common issues that gardeners may encounter. Fortunately, most problems have simple solutions when addressed promptly.
Pests
While rosemary is generally pest-resistant due to its aromatic oils, certain pests can still become an issue.
- Spider Mites: These minuscule pests cause speckled yellowing leaves and can create fine webs.
-
Solution: Increase humidity by misting the plant, rinse the leaves regularly, and use neem oil as needed.
-
Whiteflies: These small, flying insects suck sap from the leaves, causing them to yellow and wilt.
-
Solution: Use yellow sticky traps to catch adult flies and spray affected areas with a diluted neem oil solution.
Diseases
Though rosemary is fairly disease-resistant, improper watering and poor airflow can lead to fungal problems.
-
Root Rot: Overwatering or poorly draining soil can cause rosemary’s roots to rot, leading to drooping and yellowing foliage.
-
Solution: Ensure well-draining soil and only water when the top inch of soil is dry. Avoid planting in heavy clay soil unless amended with sand or perlite.
-
Powdery Mildew: A white, powdery fungal coating may appear on the leaves if the plant is grown in humid or overcrowded conditions.
-
Solution: Improve airflow by spacing plants properly and pruning as needed. Avoid overhead watering, and apply an organic fungicide if necessary.
Environmental Stress
-
Leggy Growth: If your rosemary plant grows tall and spindly with weak stems, it is likely not receiving enough sunlight.
-
Solution: Ensure the plant receives at least 6-8 hours of direct sunlight daily. If growing indoors, use a grow light to supplement.
-
Winter Damage: Rosemary can struggle in areas with harsh winters, leading to dieback or complete plant loss.
-
Solution: In cold climates (below Zone 7), bring potted rosemary indoors for the winter, or mulch outdoor plants heavily to insulate the roots.
-
Sunburn: While rosemary loves sun, sudden exposure to intense heat, especially after being indoors, can cause sunscald and leaf damage.
-
Solution: Gradually acclimate indoor plants to outdoor conditions by increasing their time in direct sunlight over a period of 7-10 days.
Poor Growth or Yellowing Leaves
-
Nutrient Deficiency: If the plant’s growth is slow or the leaves turn pale yellow, it might lack essential nutrients.
-
Solution: Apply a light feeding of an organic, balanced fertilizer in early spring, but avoid over-fertilizing, which can reduce the plant’s aromatic oils.
-
Overcrowding: Rosemary needs good airflow around its leaves to prevent disease and support healthy growth.
-
Solution: Space plants 12-24 inches apart and prune regularly to allow for proper airflow.

Harvesting Rosemary
Harvesting rosemary at the right time and using the correct techniques ensures the best flavor, fragrance, and continued plant health. Regular harvesting not only provides fresh rosemary for your kitchen but also encourages bushier, healthier growth.
When to Harvest
-
Best Time of Year: Rosemary can be harvested year-round in mild climates, but the best time to harvest for peak flavor is spring and summer, when new growth is most abundant.
-
Time of Day: The best time to harvest is in the morning after the dew has dried but before the sun is at its peak. This helps preserve the herb’s essential oils and flavor.
-
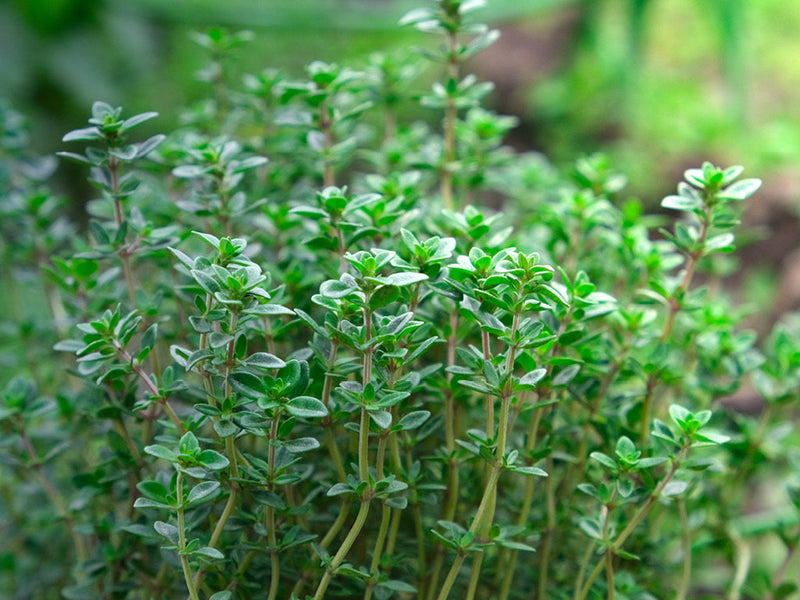
Signs of Readiness: Harvest rosemary once the plant is well-established, typically six months to a year after planting. Look for firm, vibrant green stems with plenty of needle-like leaves.
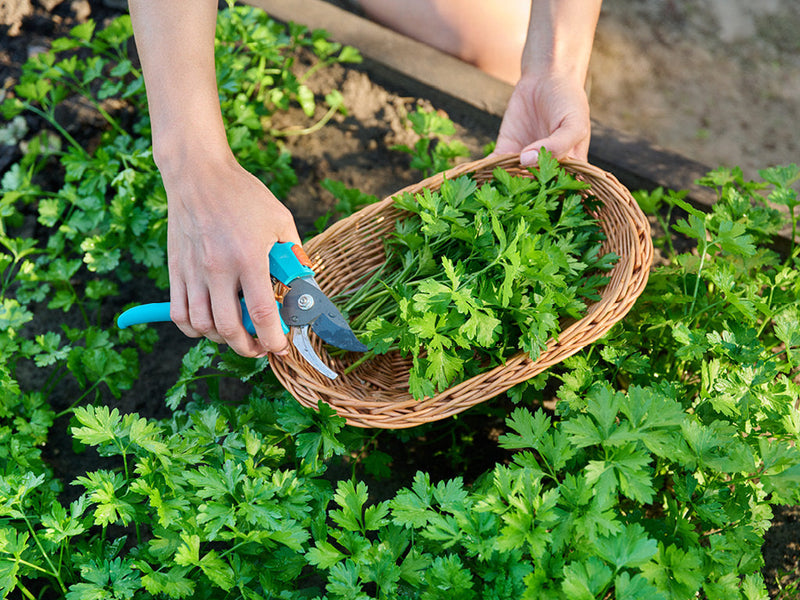
How to Harvest
-
Using the Right Tools: Use sharp, clean pruning shears or scissors to make precise cuts and avoid damaging the plant.
-
Cutting Technique:
-
Trim 4-6 inch sprigs from the outer edges of the plant, avoiding cutting more than ⅓ of the plant at a time to ensure continued growth.
-
Make cuts just above a set of leaves to encourage branching and fuller regrowth.
-
If harvesting woody stems, cut just above new green growth to prevent the plant from becoming too woody over time.
Encouraging Continuous Growth
-
Harvest frequently but lightly to encourage new, tender growth.
-
Prune away older, woody stems each season to keep the plant productive.
-
Avoid heavy pruning in late fall or winter, as the plant may not recover well before cold temperatures set in.

Preserving Your Rosemary
Preserving your rosemary properly allows you to enjoy its rich aroma and flavor year-round. Whether you prefer drying, freezing, or infusing, there are multiple ways to extend the life of your homegrown herb.
Drying Rosemary
Drying is one of the easiest and most effective ways to preserve rosemary, concentrating its flavor for long-term storage.
Air Drying
-
Gather small bunches of rosemary sprigs and tie them together with twine.
-
Hang them upside down in a cool, dry, and well-ventilated area away from direct sunlight.
-
Allow the sprigs to dry completely, which usually takes about 10-14 days.
-
Once dry, strip the leaves from the stems and store them in an airtight container.
Oven Drying
-
Preheat your oven to the lowest setting (usually 170°F or lower).
-
Spread rosemary sprigs on a baking sheet in a single layer.
-
Bake for 2-4 hours, checking frequently to ensure they do not burn.
-
Once completely dry and brittle, remove from the oven, cool, and store.
Dehydrator Drying
-
Arrange rosemary sprigs on dehydrator trays.
-
Set the dehydrator to 95-115°F and dry for 8-12 hours.
-
Store in a sealed jar in a cool, dark place.
Freezing Rosemary
Freezing is a great way to retain rosemary’s fresh flavor and vibrant color.
Freezing Whole Sprigs
-
Rinse and pat dry the sprigs thoroughly.
-
Place them in a single layer on a baking sheet and freeze for 1-2 hours.
-
Transfer frozen sprigs to a zip-top freezer bag and store for up to 6 months.
Freezing Chopped Rosemary in Ice Cube Trays
-
Finely chop fresh rosemary leaves.
-
Fill ice cube trays with 1-2 teaspoons of chopped rosemary in each section.
-
Pour water or olive oil over the rosemary and freeze.
-
Once frozen, transfer the cubes to a freezer-safe bag.
-
Drop a cube into soups, stews, or sauces when needed.

Infusing Rosemary
Infused oils and vinegars are a great way to preserve rosemary while creating flavorful culinary additions.
Rosemary-Infused Oil
-
Lightly crush fresh rosemary sprigs to release their oils.
-
Place them in a sterilized glass jar and cover with a high-quality oil (such as olive oil).
-
Let the jar sit in a cool, dark place for 2-3 weeks, shaking occasionally.
-
Strain out the rosemary before use to prevent spoilage.
Rosemary-Infused Vinegar
-
Fill a glass bottle with fresh rosemary sprigs.
-
Pour in white or apple cider vinegar, ensuring the rosemary is fully submerged.
-
Seal and let it sit for 2-4 weeks before straining and using.
Storing Dried Rosemary
-
Keep dried rosemary in an airtight container in a cool, dark place.
-
Avoid exposure to heat, moisture, or direct sunlight to maintain flavor.
-
Properly stored dried rosemary can last for up to a year.
By using these preservation methods, you can enjoy the wonderful aroma and taste of your homegrown rosemary long after the growing season ends.
Medicinal & Cosmetic Uses for Preserved Rosemary
Beyond culinary uses, preserved rosemary can be utilized in natural remedies and skincare applications.
Rosemary Herbal Tea
-
Dried rosemary leaves can be steeped in hot water to create an herbal tea known to aid digestion, improve circulation, and boost memory.
-
Store dried rosemary leaves in an airtight container and use 1 teaspoon per cup of hot water.
Rosemary Tincture
-
Fill a glass jar halfway with dried rosemary leaves.
-
Pour high-proof alcohol (like vodka) over the leaves until fully submerged.
-
Let the mixture sit for 4-6 weeks, shaking occasionally.
-
Strain and store in a dark glass dropper bottle. A few drops can be added to water or tea for a mental clarity boost.
Rosemary Hair Rinse
-
Steep dried rosemary in hot water to create a strengthening hair rinse that can help reduce dandruff and promote hair growth.
-
After shampooing, pour the cooled rosemary rinse over your hair as a final treatment.
Rosemary Skin Toner
-
Rosemary-infused water can be used as a natural facial toner, reducing oiliness and acting as an antimicrobial cleanser.
-
Store in a glass spray bottle and refrigerate for up to two weeks.
By using these preservation methods, you can enjoy the wonderful aroma, taste, and benefits of your homegrown rosemary long after the growing season ends.
Wrapping it Up
So there you have it—everything you need to know to grow your own rosemary like a pro! Whether you’re in it for the fresh kitchen flavors, the therapeutic benefits, or just because it smells amazing (seriously, who doesn’t love that piney goodness?), you’re now well-equipped to nurture this incredible herb.
Remember, gardening should be fun! Don’t stress over every little leaf or droop—plants are pretty forgiving, and rosemary is one tough cookie. Give it sunlight, well-draining soil, and a little love, and it’ll reward you with an endless supply of deliciousness.
And let’s be real—there’s nothing cooler than stepping outside, snipping a fresh sprig of rosemary, and tossing it into your cooking like some kind of herb-wielding kitchen wizard. So go on, get your hands dirty, and enjoy the journey of growing something amazing!
Happy growing,